What's New in 2025-12 (Rush)
Explore the latest features and enhancements introduced in the 2025-12 (Rush) release.
Platform Highlights
Archiving
A new asset archive has been developed to allow for assets to be removed from the asset library and stored in a separate archive.
When this functionality is enabled and you have the relevant permission, a new asset archive option is available. This is found under the administrator cog option:

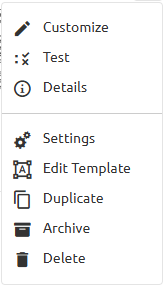
To archive an individual asset from the asset library, a new “Archive” option is shown under the ellipses of an asset, as follows:
Alternatively, multiple assets can be archived together, by ticking the selection checkbox on the relevant assets and then using the “Actions” dropdown. A new batch archive option is now shown that will archive the selected items:
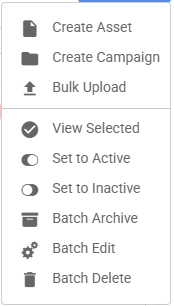
There is a confirmation step before the selected assets are archived, allowing for review and any corrections to be made, prior to giving confirmation to proceed.
Asset Archive
Once archived, an asset is assigned the “archived” status, removed from the asset library and placed in the asset archive. These assets are then only accessible by an administrator with access to the asset archive. The assets are no longer visible or available to be used by any other user.
The asset archive looks and operates similar to the asset library:
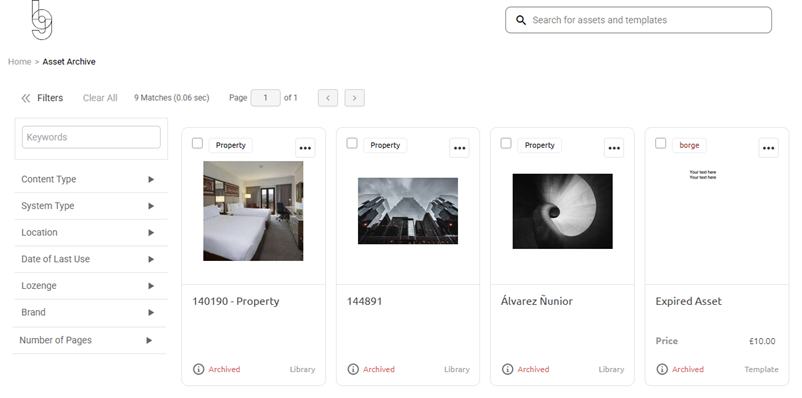
The following administration options are available on each asset in the archive:
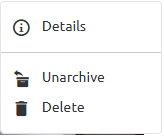
Or multiple assets can be unarchived together, by ticking the selection checkbox on the relevant assets and then using the “Actions” dropdown. A new batch unarchive option is available here that will unarchive the selected items:
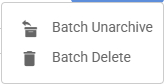
There is a confirmation step before the selected assets are unarchived, allowing for review and any corrections to be made, prior to giving confirmation to proceed.
Any asset this is unarchived is set back to an inactive status and will appear in the asset library.
Application Settings
A new application settings option is now available to a user with the appropriate permission. This is where an account administrator can now control and manage certain functionality within their account, rather than having to contact Brandgility support to do this.
The first area of functionality controlled by the application settings is the “Related items” feature (introduced in the Queen release), which can now be enabled or disabled via this page by using the slider control:
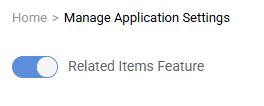
The above shows the related items functionality switched on. Simply click the control to switch this off.
Replicate text when switching to tabs
When changing a simple text section in manage UI to have one or more tabs, then any text that is currently entered in the base text section will now be automatically copied onto tab 1. This resolves a current issue where the base text is left hidden and tab 1 is presented to the administrator as a blank section.
Conversely, when a text section with tabs is adjusted to be a simple text section with no tabs, then the text on tab 1 is copied onto the base text section and made available to the administrator to edit.
Expiry flash on home page/sub-page tiles:
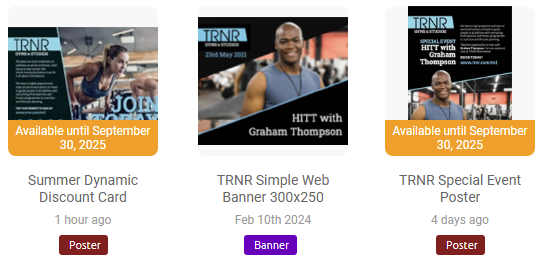
The tiles shown on a last published or a last modified tile list have been updated to show the expiry date flash (if appropriate), as follows:
Clicking tiles for items that belong to a related items campaign
When a last published or last modified tile belongs to a campaign which has the related items functionality enabled, then when these tiles are selected, the related items dialog is shown.
Sub-page filter change
Where a sub-page filter is configured to filter the search results displayed when using the sub-page (such as Brand, as shown below), then these are now being applied to the search request as “pre-filters”. This means that they cannot be edited or removed by the user when the search results are displayed.

Where any subsequent searches on the same page should retain the same pre-filters, then this can be enforced by checking the new “retain filters on subsequent search” option:

Manage assets from within the Campaign
A new option to manage the assets that belong to a campaign from within the campaign settings page has been added. Click this link to see the asset flyout and select or de-select assets that belong to the campaign:

Default Address book entry
Where an address is being added to the address book and this will be the first entry to be stored, then the default address setting has been mandatory on this entry, thereby ensuring that a default address book entry is available for subsequent orders.
New hover on details page
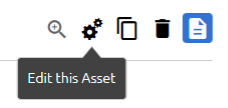
The new hover style has been applied to the action options on the asset details page and the campaign details page, as follows:
Template Highlights
Add options to include or remove crop marks on output
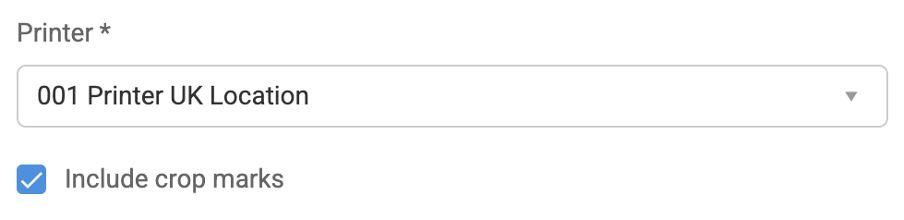
We’ve added methods to include or remove crop marks intended for commercial print. If you are using the order workflow, the crop marks can be controlled using a new setting on the Output Spec
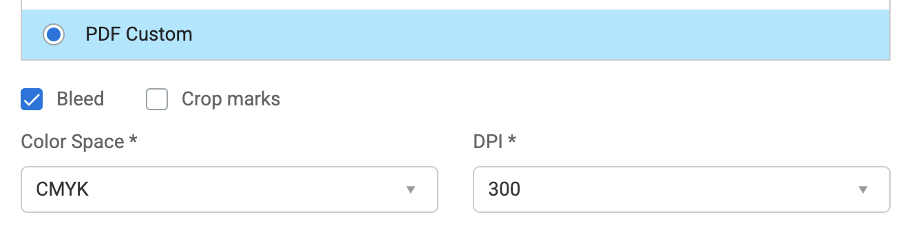
If you are using the download workflow, the option is available when using the Custom PDF settings
Access asset settings from template editor
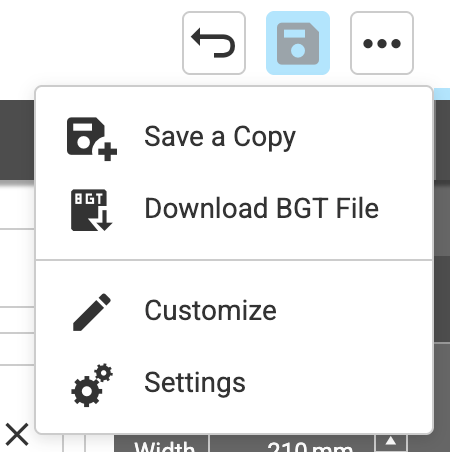
We’ve added an "Actions" button the template editor page where you’ll find the options to Save a copy, Download a BGT file or jump directly to the end user customization or asset settings page for the template you are working on.